Singer Heavy Duty 4411 Sewing Machine Manual: A Comprehensive Guide
This guide celebrates your new Singer Heavy Duty 4411‚ offering a roadmap for successful operation and maximizing its powerful sewing features.
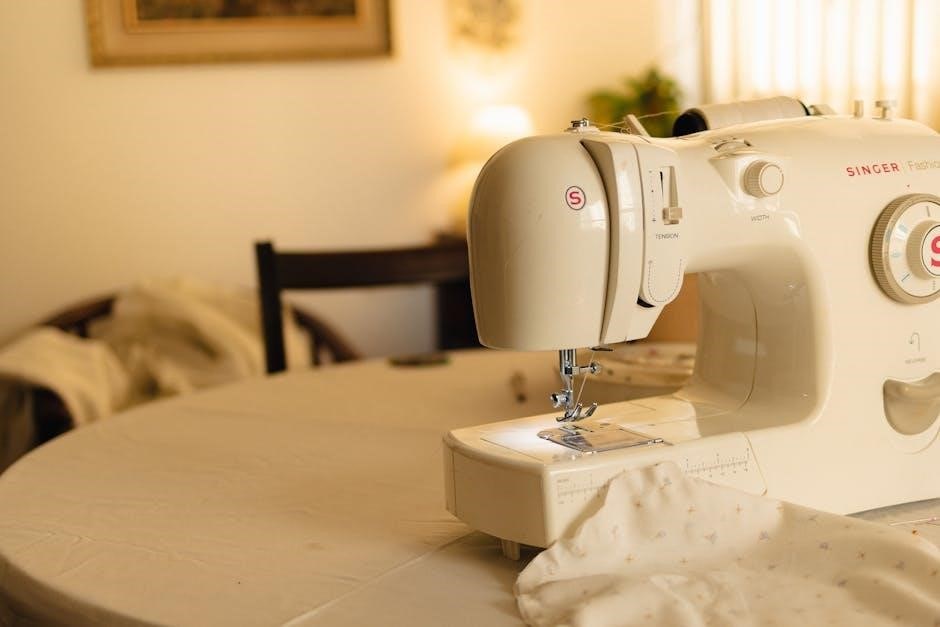
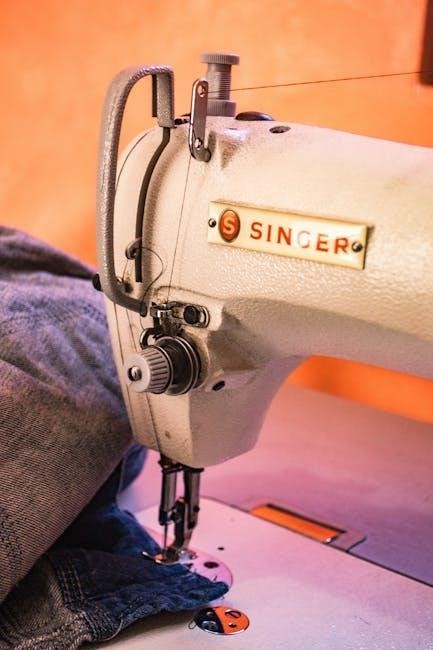
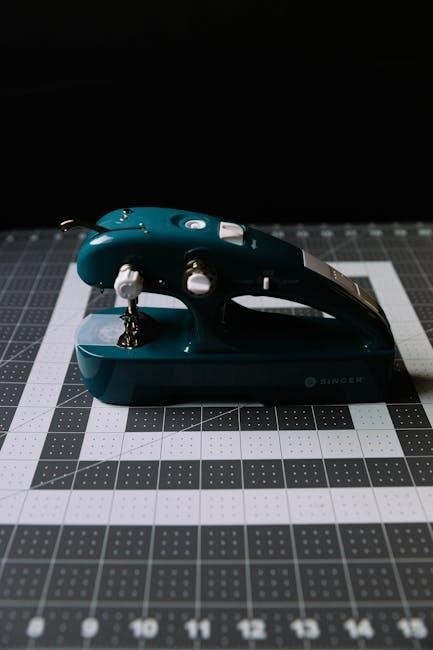
The Singer Heavy Duty 4411 sewing machine is a popular choice for both beginners and experienced sewists‚ renowned for its durability and ability to handle a wide range of fabrics.
Since the 1850s‚ SINGER has been a trusted household name‚ and the 4411 continues this tradition. This machine excels at tackling heavier materials like denim and canvas‚ making it ideal for projects like home décor‚ repairs‚ and crafting.
This comprehensive guide will walk you through everything you need to know‚ from initial setup and basic operations to advanced techniques and maintenance. Access to the official manual (PDF download) is also provided‚ ensuring you have all the resources necessary to unlock the full potential of your Singer 4411.
Key Features and Specifications
The Singer Heavy Duty 4411 boasts a robust 1.2 Amp motor‚ providing exceptional power for piercing through thick fabrics with ease. It features a stainless-steel bedplate ensuring smooth fabric flow.
This machine offers 11 built-in stitches‚ including options for decorative sewing and basic repairs. Stitch selection and adjustment are straightforward‚ catering to various project needs. The 4411 is designed for ease of use‚ yet packed with powerful features.
Key specifications include adjustable stitch length and width‚ a top drop-in bobbin system‚ and compatibility with Singer presser feet. It’s a versatile machine suitable for diverse sewists‚ offering a blend of reliability and functionality. Find detailed specifications within the official instruction manual (PDF available).
Getting Started with Your Machine
Begin by carefully unboxing your Singer 4411 and familiarizing yourself with all included parts before initial setup and operation.
Unboxing and Initial Setup
Carefully remove your Singer Heavy Duty 4411 from its packaging‚ ensuring all components are present. These typically include the sewing machine itself‚ a power cord‚ various presser feet‚ bobbins‚ needle plates‚ a screwdriver‚ and this comprehensive manual. Inspect the machine for any shipping damage before proceeding.
Next‚ attach the power cord securely. Position the machine on a stable‚ flat surface with adequate lighting. Before the first use‚ ensure the bobbin area is clear of any packing materials. Install a new needle appropriate for your intended fabric. Finally‚ review the safety precautions outlined in the manual to ensure safe and proper operation of your new Singer Heavy Duty 4411 sewing machine.
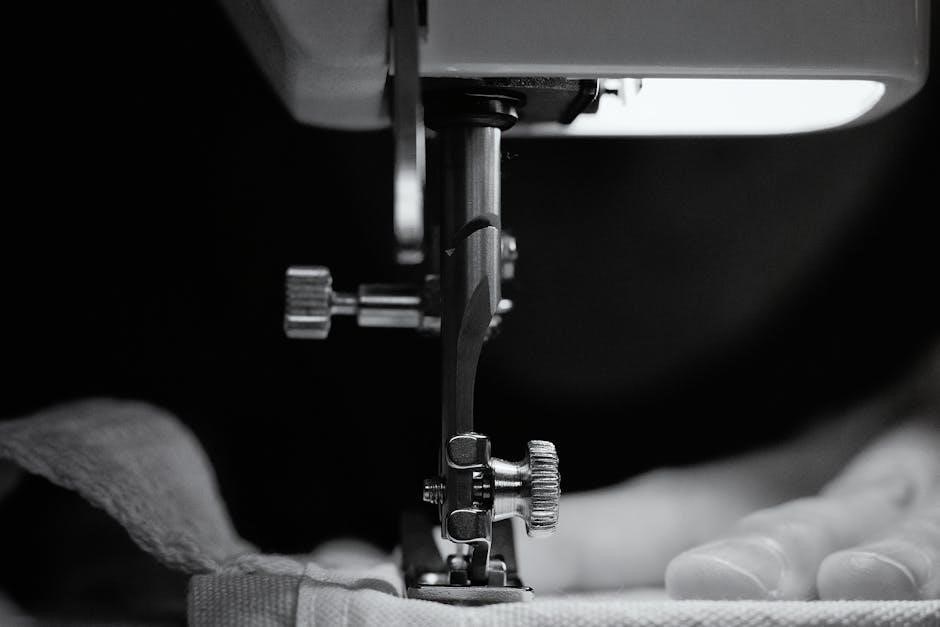
Understanding the Machine Parts
The Singer Heavy Duty 4411 features several key components. The power switch controls operation‚ while the speed control adjusts sewing pace. The handwheel allows manual needle positioning. Presser feet‚ changeable for various tasks‚ secure fabric. The needle clamp holds the needle‚ and the bobbin winder prepares bobbins.
Familiarize yourself with the stitch selection dial for pattern choices. The stitch length and width dials customize stitch appearance. The tension dial regulates thread balance. The reverse lever enables backstitching. Understanding these parts and their functions is crucial for efficient and successful sewing with your new machine; Refer to the diagrams in this manual for visual identification.
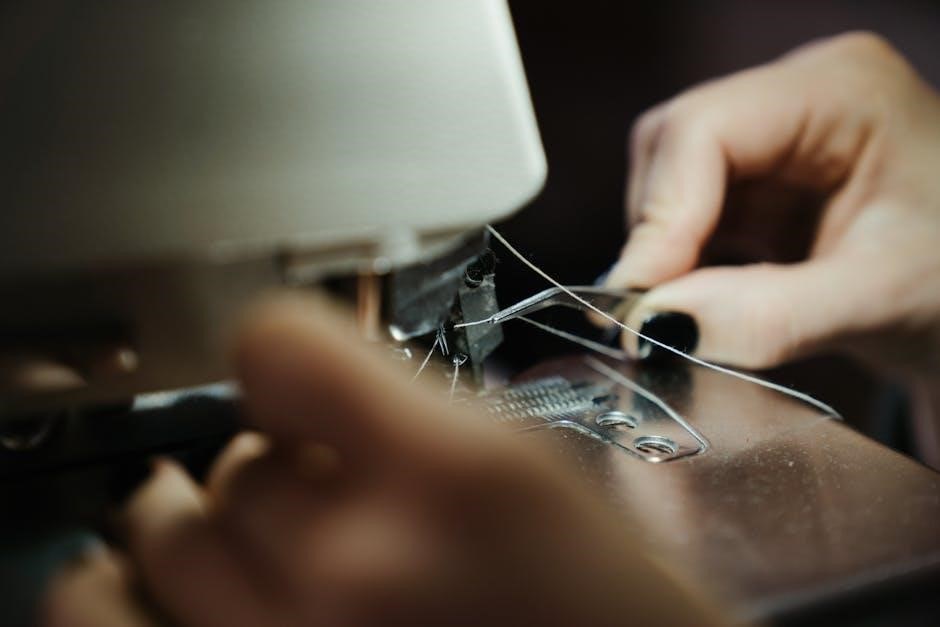
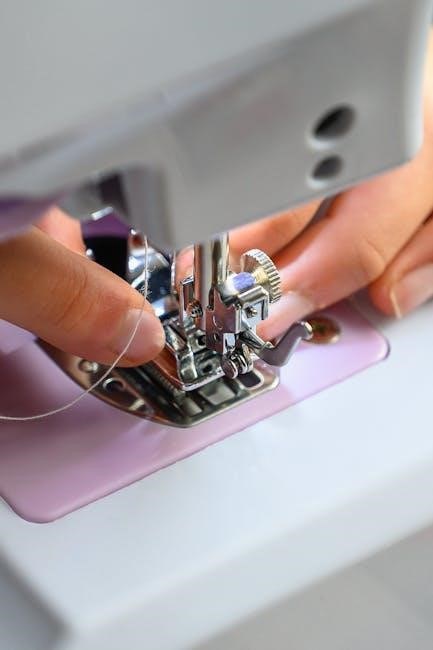
Threading the Singer 4411
Proper threading is essential for optimal sewing performance. Begin by raising the presser foot. Guide the thread from the spool‚ through the thread guide‚ and around the tension disc. Next‚ lead the thread down and through the take-up lever‚ ensuring it’s securely seated. Continue threading through the needle clamp and finally‚ thread the needle from front to back.
For bobbin threading‚ place the bobbin in the bobbin case‚ guiding the thread through the tension slot. Ensure smooth thread flow throughout the entire process. Incorrect threading can cause skipped stitches or tension issues. Consult the detailed threading diagram in your manual for a visual guide.

Basic Sewing Operations
Mastering fundamentals like winding the bobbin‚ stitch selection‚ and straight sewing unlocks the Singer 4411’s potential for various projects.
Winding the Bobbin
Proper bobbin winding is crucial for consistent stitch quality with your Singer Heavy Duty 4411. Begin by placing the thread spool on the spool pin‚ ensuring it’s securely positioned. Next‚ guide the thread through the thread guides‚ following the numbered path indicated on the machine.
Attach the bobbin to the bobbin winder spindle and push it to the right to engage. Hold the thread tail firmly as you start the machine‚ gently pressing the foot pedal. Allow several turns to wind evenly before releasing.
Once full‚ the bobbin winder will automatically stop. Cut the thread and remove the bobbin. Always use genuine Singer bobbins for optimal performance and to avoid potential damage to your machine. Consistent winding ensures smooth‚ reliable sewing.
Stitch Selection and Adjustment
The Singer Heavy Duty 4411 offers a variety of stitches for diverse projects. Select your desired stitch using the stitch selection dial‚ referencing the stitch guide printed on the machine. Each number corresponds to a specific stitch type‚ including straight‚ zigzag‚ and decorative options.
Adjust stitch length using the length dial; shorter stitches are ideal for delicate fabrics‚ while longer stitches suit heavier materials. Similarly‚ adjust stitch width with the width dial to modify the zigzag stitch’s breadth.
Experiment with different settings on scrap fabric to achieve the desired look and ensure proper tension. Understanding these adjustments unlocks the machine’s full potential.
Sewing Straight Stitches
To sew a straight stitch on your Singer Heavy Duty 4411‚ select stitch number ‘1’ on the stitch selection dial. Ensure your fabric is properly positioned under the presser foot‚ aligning the edge with your desired seam allowance guide. Gently lower the presser foot to secure the fabric.
Begin sewing by pressing the foot pedal‚ guiding the fabric smoothly and consistently. Avoid pulling or pushing the fabric; let the machine feed it through. Maintain a steady speed for even stitches.
For accurate seam allowances‚ utilize the markings on the needle plate as guides. Practice on scrap fabric to refine your technique and achieve professional-looking results.
Advanced Sewing Techniques
Explore the Singer 4411’s full potential with diverse presser feet‚ adjustable stitch settings‚ and mastering buttonhole creation for complex projects.
Using Different Presser Feet
The Singer Heavy Duty 4411 truly shines when utilizing its range of presser feet‚ expanding your sewing capabilities beyond basic stitches. Standard presser foot is ideal for everyday sewing tasks‚ while the zipper foot ensures professional-looking zipper applications.
Buttonhole foot simplifies creating consistent buttonholes‚ and the blind hem foot delivers nearly invisible hems. For decorative stitching‚ employ the decorative foot‚ and for quilting‚ consider a walking foot to evenly feed layers of fabric.
Experimenting with these feet unlocks advanced techniques‚ allowing you to tackle diverse projects with confidence and precision. Refer to your manual for specific foot attachments and their optimal uses‚ maximizing the machine’s versatility.
Adjusting Stitch Length and Width
Mastering stitch length and width adjustments on your Singer Heavy Duty 4411 is crucial for achieving desired sewing results. Stitch length controls the distance between stitches; shorter lengths are ideal for delicate fabrics‚ while longer lengths suit heavier materials. Adjust the dial to fine-tune stitch density.
Stitch width determines the breadth of zigzag or decorative stitches. Wider widths create bolder patterns‚ while narrower widths offer subtle embellishments. Experiment with different settings on scrap fabric to understand their impact.
Precise adjustments ensure fabric compatibility and enhance the overall quality of your projects. Consult your manual for recommended settings based on fabric type and stitch selection‚ unlocking the machine’s full potential.
Sewing Buttonholes
The Singer Heavy Duty 4411 simplifies buttonhole creation with its one-step buttonhole function. Begin by selecting the buttonhole stitch on your machine and inserting a buttonhole stabilizer if using lightweight fabrics. Measure the button and adjust the buttonhole width accordingly using the designated dial.
Position the fabric under the presser foot‚ aligning the buttonhole placement guide with your desired location. Lower the presser foot and begin sewing; the machine automatically stitches the buttonhole outline.
Carefully remove the fabric and cut open the buttonhole using the seam ripper or buttonhole punch. Practice on scrap fabric to perfect your technique and ensure consistently neat buttonholes for all your sewing projects.

Maintenance and Troubleshooting
Regular cleaning and oiling ensure optimal performance. Address common issues like thread jams or skipped stitches with the manual’s solutions.
Cleaning and Oiling the Machine
Maintaining your Singer Heavy Duty 4411 is crucial for longevity and performance. Regularly remove lint and dust from the bobbin area‚ feed dogs‚ and around the needle plate using a brush. Power off and unplug the machine before cleaning. A small vacuum cleaner attachment can also be helpful.
Oil key areas as indicated in your manual – typically the motor‚ bobbin hook‚ and any points where metal parts rub together. Use only sewing machine oil; other lubricants can cause damage. Apply oil sparingly‚ wiping away any excess. Consistent cleaning and oiling prevent friction‚ reduce wear‚ and ensure smooth‚ reliable sewing for years to come. Refer to the official manual (PDF download available) for detailed instructions and diagrams.
Common Problems and Solutions
Encountering issues with your Singer 4411? Thread bunching often indicates incorrect threading or improper bobbin winding – re-thread and rewind the bobbin. Needle breakage can stem from using the wrong needle type for the fabric or a bent needle; replace it.
Skipped stitches frequently point to a dull or damaged needle‚ or incorrect needle insertion. If the machine jams‚ ensure the presser foot is lowered and the fabric isn’t being pulled. Consult the official manual (PDF available online) for detailed troubleshooting steps and diagrams. Remember to always unplug the machine before attempting any repairs. Proper maintenance minimizes these issues.
Finding the Official Manual (PDF Download)
Accessing the official Singer Heavy Duty 4411 manual is straightforward. Singer provides downloadable PDF versions directly on their website‚ ensuring you have readily available support. A quick online search for “Singer 4411 manual PDF” will lead you to the official Singer support pages.
Alternatively‚ visit the Singer website and navigate to the ‘Instruction Manuals’ section‚ where you can locate and download the 210 kb PDF specifically for the 4411 model. This digital manual offers comprehensive guidance on setup‚ operation‚ maintenance‚ and troubleshooting. Having the PDF allows for easy access on your computer‚ tablet‚ or smartphone‚ providing convenient assistance whenever needed.
Resources and Support
Singer offers extensive support‚ including a website with helpful pages‚ warranty details‚ and a locator to find nearby service centers for assistance.

Singer Website and Support Pages
The official SINGER website is a valuable resource for owners of the Heavy Duty 4411. You’ll find a dedicated support section offering a wealth of information designed to enhance your sewing experience.
Specifically‚ the site provides access to downloadable instruction manuals in PDF format – including the SINGER 4411 Heavy Duty manual itself (210 kb). This allows for easy access to detailed guidance on all aspects of machine operation‚ from initial setup to advanced techniques.

Furthermore‚ SINGER’s support pages offer troubleshooting assistance‚ frequently asked questions‚ and links to helpful resources. You can also locate free classes and elite stores through convenient online locators‚ ensuring you receive the best possible support for your sewing machine. Check out: https://bit.ly/3yixbpq
Warranty Information
Your Singer Heavy Duty 4411 sewing machine is backed by a manufacturer’s warranty‚ providing peace of mind and protection against defects in materials and workmanship. The specific terms and duration of the warranty can vary depending on your region and retailer.
To understand the full scope of your coverage‚ it’s crucial to review the warranty documentation included with your machine. This document outlines what is covered‚ what is not‚ and the process for making a warranty claim.
SINGER provides a Warranty Center Locator on their website to help you find authorized service centers in your area. These centers can assist with warranty repairs and provide genuine SINGER parts. Always retain your proof of purchase‚ as it is required for all warranty claims.
Locating Singer Service Centers
For professional maintenance‚ repairs‚ or assistance with your Singer Heavy Duty 4411‚ locating an authorized Singer service center is essential. SINGER offers a convenient online Service Center Locator tool on their official website‚ allowing you to find nearby qualified technicians.
This locator utilizes your location to display a map and list of authorized service centers‚ complete with contact information and addresses. Utilizing an authorized center ensures that your machine is serviced by trained professionals using genuine SINGER parts.
Regular servicing can extend the life of your machine and maintain optimal performance. Don’t hesitate to reach out to a local service center for routine check-ups or to address any specific issues you may encounter.
Leave a Reply
You must be logged in to post a comment.